

How to Use the Canon Rebel T6 - Tips, Tricks and Manual Settings
How to Take Great Photos with the Canon EOS Insubordinate T6
I of Canon'due south entry-level DSLRs, the EOS Rebel T6, is, in many means, similar to its predecessor, the EOS T5. 1 of the biggest differences, still, is that information technology offers Wi-Fi for sharing images and remotely controlling the camera. Almost other improvements, similar a faster processor, are under the hood.
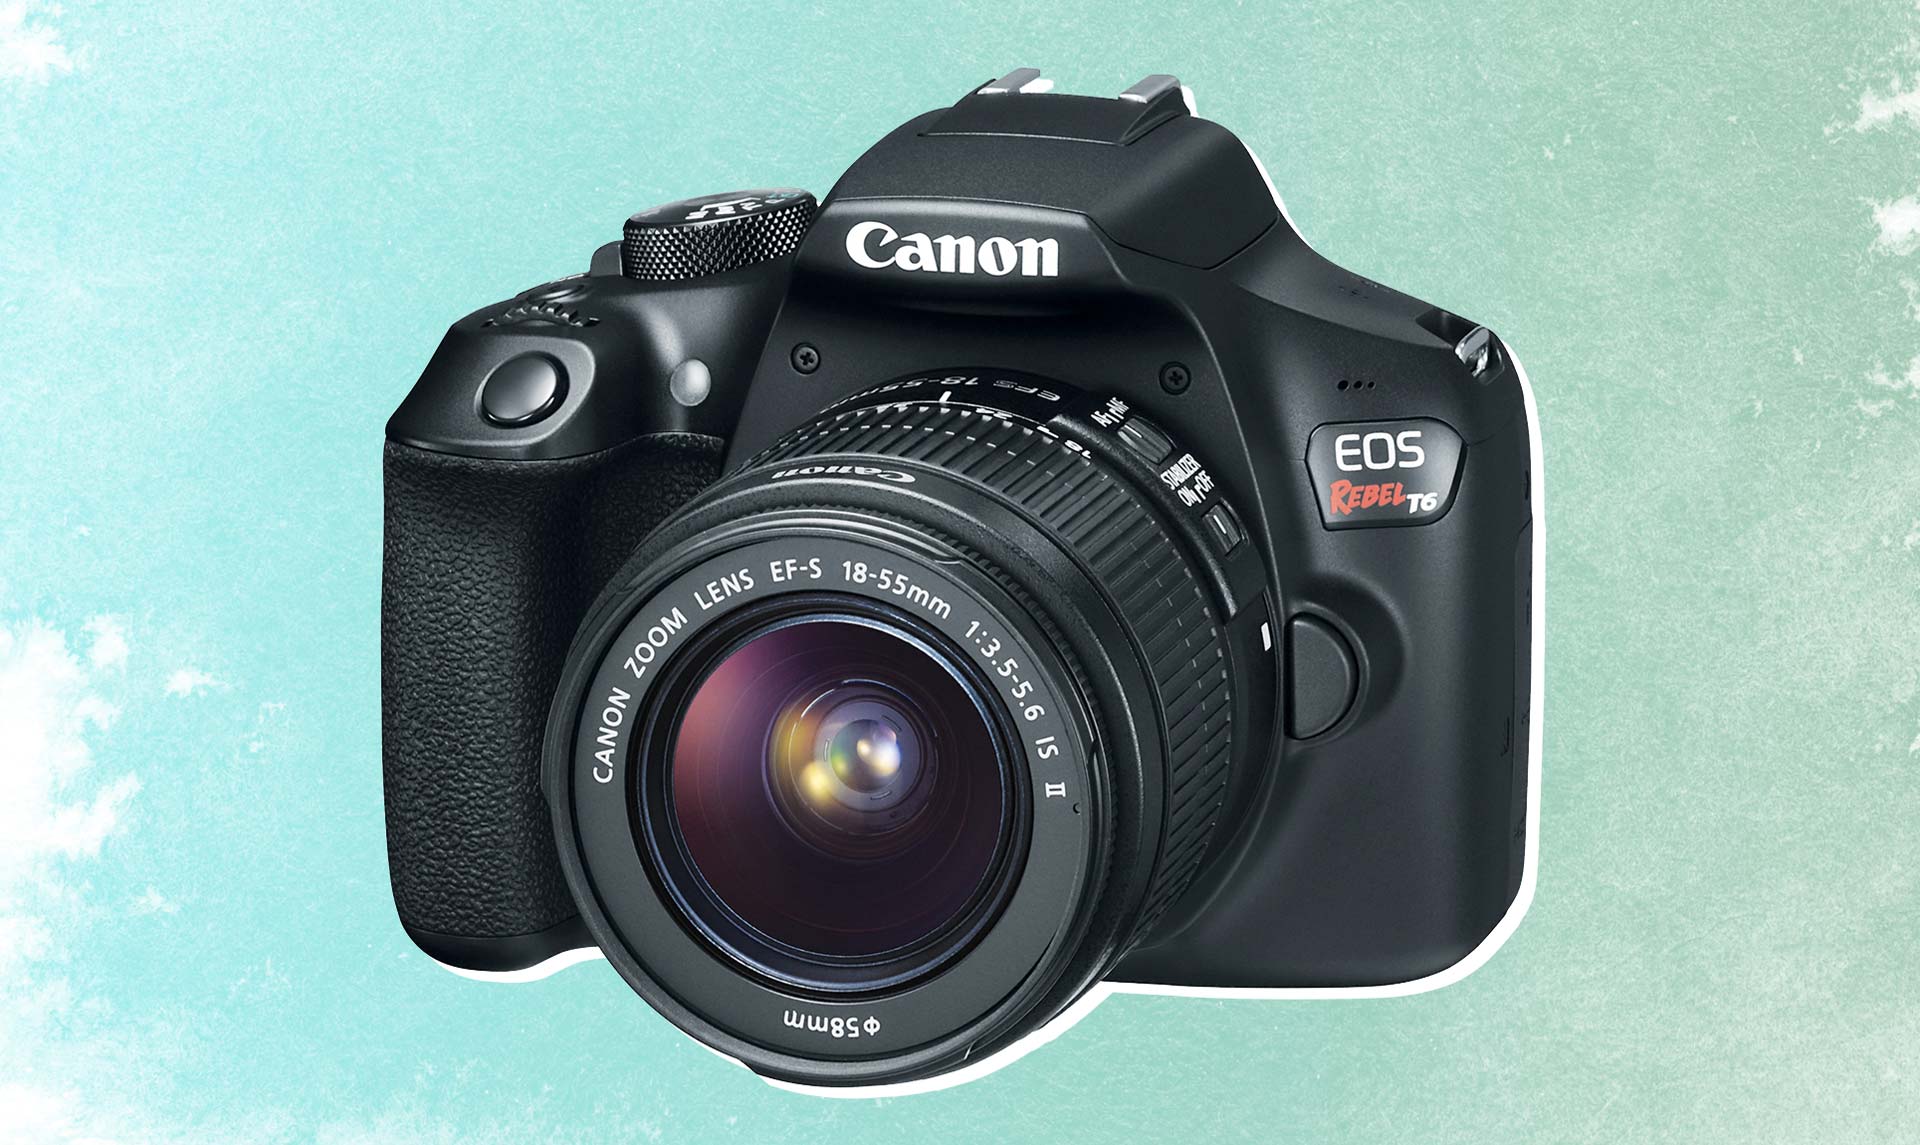
But the bottom line is that the T6 provides all the basic functions and features you lot demand to take bang-up pictures. We've outlined some of the recommended steps to get the virtually out of your camera in the following guide.
More than: How to Have Great Pictures with the Canon T5
Quick tips
1. Kickoff with the P (program auto) mode. And then, gradually work into shooting in Television receiver (shutter priority) and AV (discontinuity priority), before moving on to total Manual mode (G). Run across below for a description of each mode and when to apply the different options.
two. Set the photographic camera to automatically rotate vertical images in the camera and on the computer. (Go to Setup menu > Car Rotate, and choose the first option with icons of a camera and a computer.)
3. If yous plan to shoot in a tranquillity environment, similar at a wedding anniversary or in a museum, plow off the beeper (Shooting menu, tab 1).
4. Continue the ISO at 1600 or below whenever possible to avoid image noise.
v. Press the camera icon to the right of the viewfinder to access Alive View, which flips up the mirror so you lot can run across the scene in the LCD (versus the viewfinder). For movies, move the mode dial to the picture show camera icon; the camera automatically enters Alive View. Then, press the photographic camera icon side by side to the viewfinder (with a red dot) to showtime or terminate recording video.
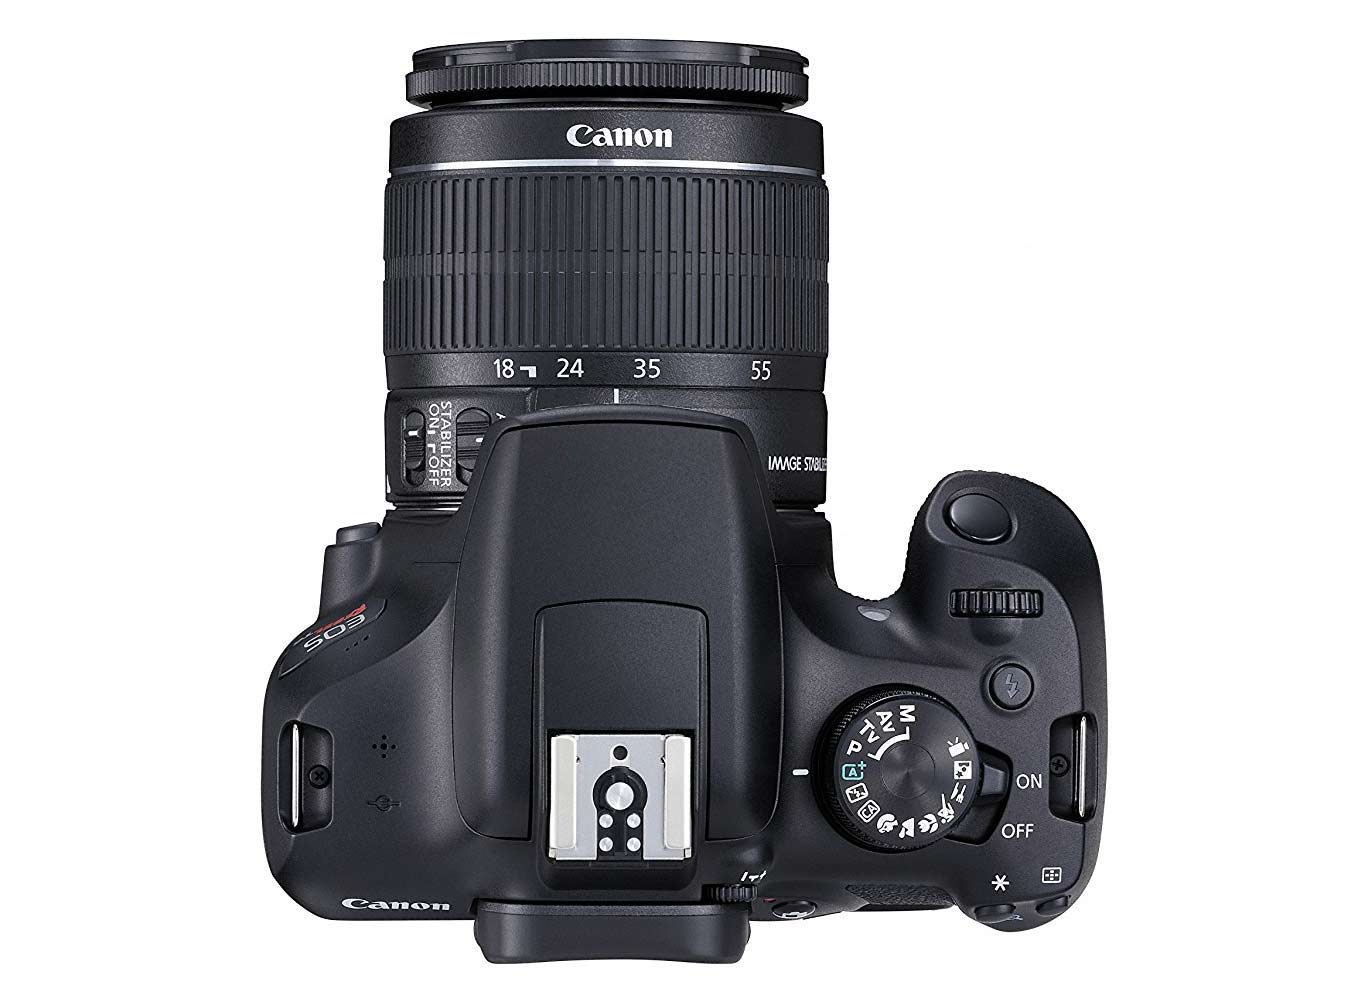
Getting to know the Canon T6 controls
The way dial
The mode dial is where your movie-taking decisions begin. The selected mode not only determines how the exposure is adamant simply besides how many other features and controls are attainable to yous. For example, automatic settings (such equally Auto, Portrait, Landscape and Food) turn nearly control over to the photographic camera while leaving you lot limited options for features such as white residual. Manual controls (such as Programme, Aperture priority, Shutter-speed priority, and Manual exposure modes) provide more than user options for exposure and let admission to all of the other features the camera offers.
Though the fully automatic modes are easy to use, you're improve off getting to know — and using — what is often referred to as PASM (Plan, Aperture priority, Shutter priority and Transmission). On the T6 mode dial, Aperture priority is labeled as AV (aperture value), and Shutter priority is labeled as TV (time value).
P = program auto exposure: Although Program is essentially an automatic mode in that the camera determines the shutter speed and aperture setting for the scene, y'all can adjust those parameters in tandem. If, for case, the initial shutter speed is likewise slow to agree the photographic camera in your hand and get a steady shot, turn the main punch to adapt the shutter/aperture combination until y'all get a faster shutter speed. The photographic camera will automatically alter the discontinuity at the same time to ensure a proper exposure.
Boob tube = Shutter priority: In this style, you choose the shutter speed, and the camera selects the aperture. Unless you have very steady hands or are using a tripod, it's best to aim for a shutter speed of about 1/125 second or faster, peculiarly if yous're using Live View and take to concur the camera away from your body. Using the viewfinder when shooting helps stabilize the camera, since it's braced against your face and your arms are not outstretched. So try to shoot with the viewfinder when using slower shutter speeds.
To terminate activeness, utilise a shutter speed of i/200 second or faster; to blur images, like waterfalls, attempt one/60 2d or slower. Keep in heed, though, that if y'all're using the wink (either a built-in one or an accessory flash), the fastest shutter speed the photographic camera allows is 1/200 second in order for the shutter and the flash to sync.
AV = Discontinuity priority: The main benefit of shooting in Aperture priority is the ability to control depth of field (how sharp the epitome appears from near to far). Aperture numbers can be a little disruptive — the smaller the number (f/2.0), the larger the opening. This not only allows more lite to hit the sensor for exposure simply besides delivers a shallow depth of field, which is perfect for portraits, since information technology blurs the background and emphasizes the master bailiwick. For landscapes, y'all desire a broader depth of field, and so more of the image is in focus. To achieve this, stop downwardly the aperture (by choosing a higher f/finish number).
Yard = Manual: This mode allows you lot to choose both the shutter speed and the aperture. Go on an eye on the exposure gauge in the viewfinder or on the LCD in Alive View. When the marking is in the center, the paradigm should be accurately exposed. If the exposure is not to your liking, y'all can easily adapt the shutter speed and/or aperture to make it brighter or darker.
The T6 as well offers a fully Auto way (await for the green A icon), a flash-off way for when y'all can't or don't want the flash to automatically pop up if needed, a Creative Auto style, and a scattering of scene modes, such as Portrait, Landscape, Food and Close-upward. Check the photographic camera manual for full explanations of each. But be aware that your options are limited with all of these modes, and one of the keys to taking great pictures is putting yourself in control.
Other important controls
The T6 is equipped with a number of defended buttons that allow y'all to quickly adjust settings.
Q: Printing the Q button (located on the back of the camera) to bring up a detailed carte that allows you to change all the important settings when shooting in one of the PASM modes.
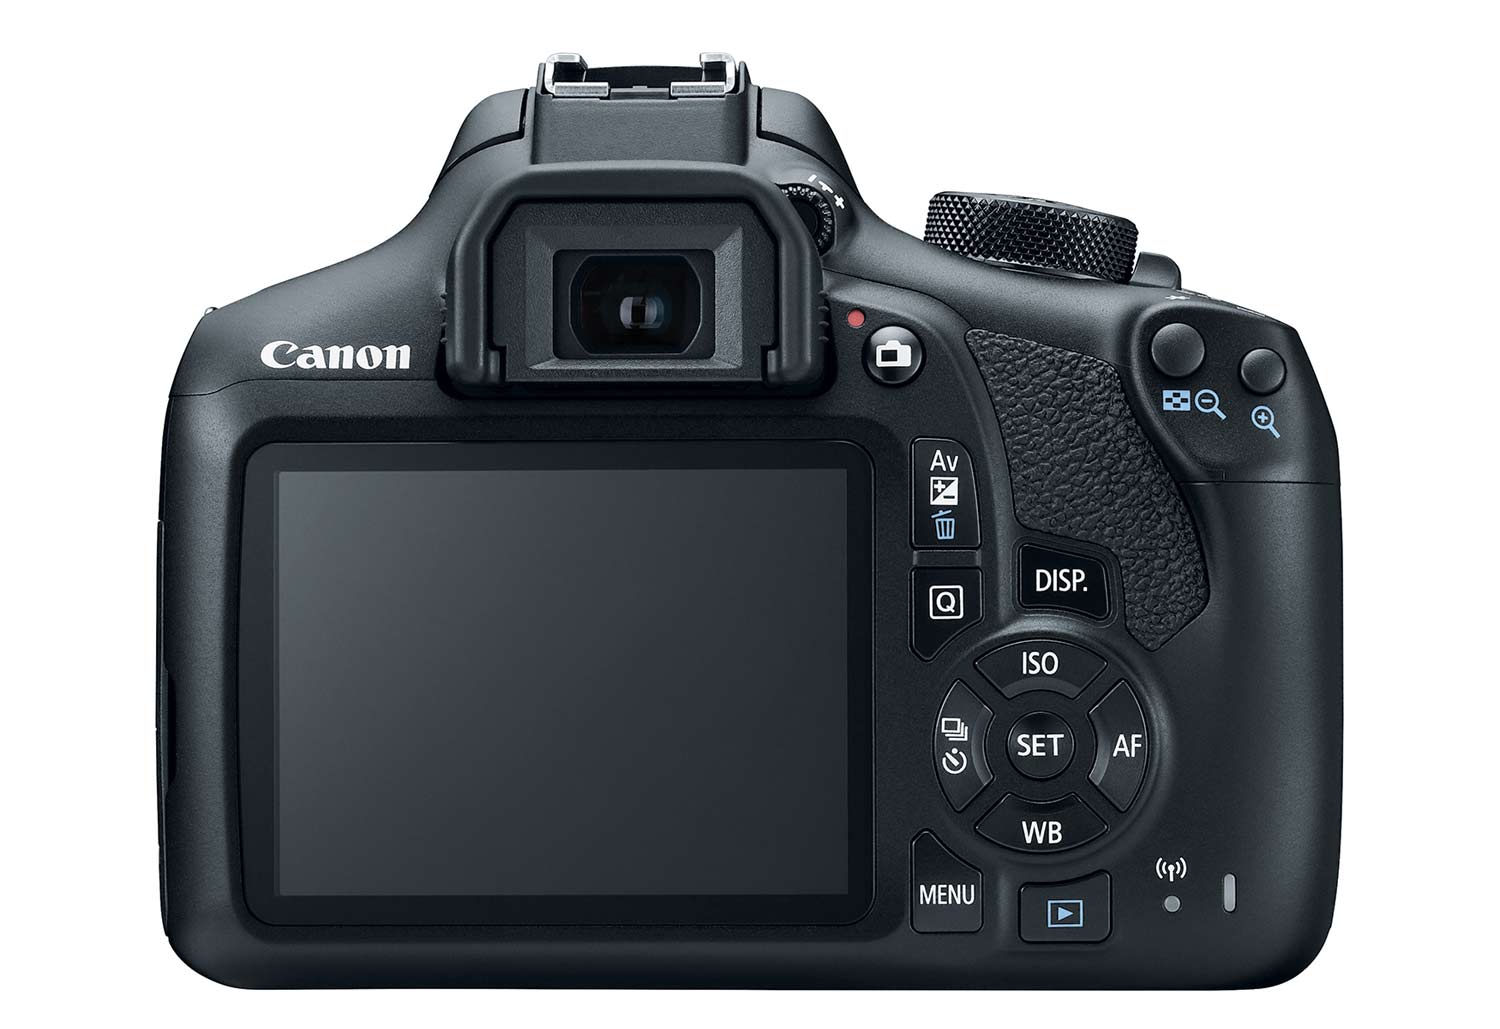
4-Way controls: Surrounding the Gear up button, you lot tin press the arrow keys to arrange (clockwise from the left arrow) drive/self-timer, the ISO, autofocus (AF) and white residue (WB).
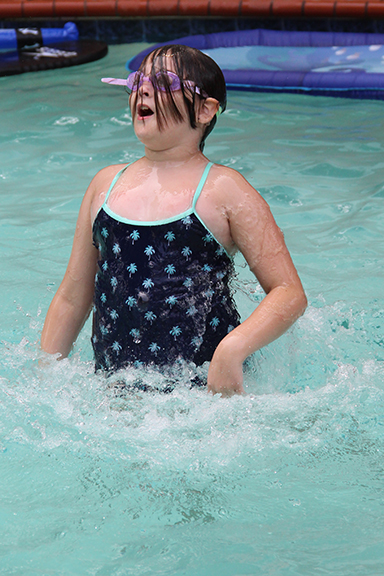
How do I shoot a portrait?
At that place are several types of portraits, ranging from posed to aboveboard.
For the old, be sure to open up your aperture (low f/stop number) to blur the background, emphasizing your subject rather than his or her surroundings. Make sure the shutter speed is fast enough (ane/125 second) to compensate for any move of the camera — or of the subject. Most people know to stay withal when their picture is being taken, and then you lot generally don't have to remind them. If you lot practice ask them to stay still, keep in mind that they may freeze up with a not-so-great wait on their face up.
When shooting a spontaneous portrait, apply at least a 1/200 second shutter speed, since the person might motion while you're taking a shot. For this agile portrait, I kept the shutter speed fix at i/1,250 second, f/5.half-dozen and waited for a fun moment. I cropped the prototype so that the focus was more than on the kid's face.
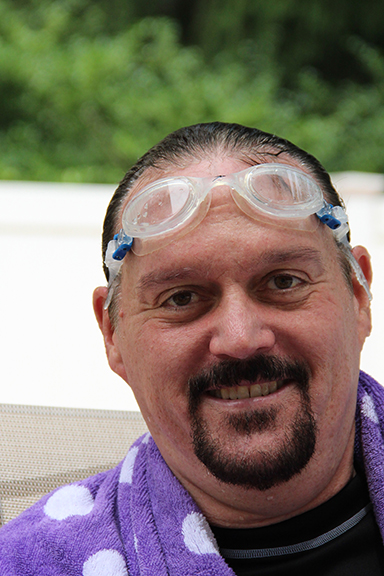
How do I freeze action?
As we mentioned earlier, shutter speed is the key to capturing and freezing move. While a shutter speed of 1/200 2nd may be fast enough to capture a slow-moving kid (if at that place is such a thing!), faster and more than sudden activeness requires a higher shutter speed. For this image, I was able to freeze the activeness of this father-girl duo and the huge water splashes by setting the shutter speed to 1/1,250 second.
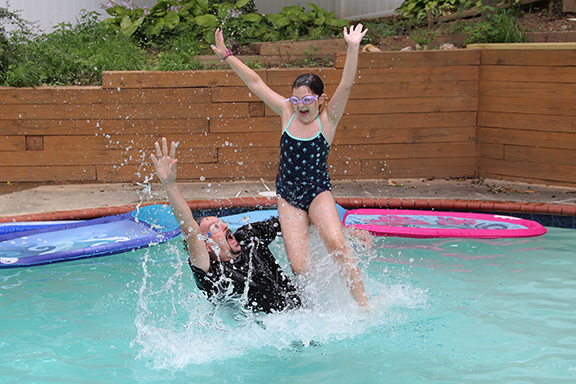
Because I didn't know exactly where (or when) they would popular out of the water, I fix the aperture to f/5.half-dozen to get a decent depth of field and prefocused on where they were standing earlier they ducked nether the water. Using ane-shot AF (which locks in focus once when y'all half-press the shutter button), I focused on the two by half-pressing the shutter push button and belongings it in the partially depressed position then triggering information technology when they jumped out of the h2o. You tin can try AI Servo (continuous autofocus) and/or continuous shooting, as well, but I found that the T6'south iii-frames-per-2nd burst way wasn't quite fast enough to catch more than a single shot of the activity. And one final affair: If you're not certain where the activeness will accept place, zoom out a little and then you take extra space in the frame; yous can always crop it later.
How exercise I create absurd nighttime shots?
While we ofttimes spend our time trying to avert blur, you tin can create some interesting images using a slow shutter speed to mistiness moving subjects such as waterfalls or carnival rides. You near ever need a tripod, though, since you want at least part of the epitome to be in focus.
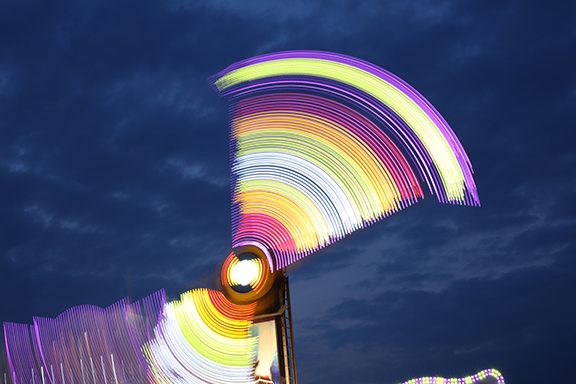
For this funfair ride, I mounted the camera on a tripod, focused manually (move the switch on your lens from AF to MF) and ready the shutter speed to ii seconds (ii") and the discontinuity to f/13 to go better depth of field. It takes some experimentation to get the exposure only correct, simply depending on how much blur you desire (and how dark information technology is), yous might desire to beginning at well-nigh ane/thirty second shutter speed and f/eight and go from at that place. Using the Canon T6'due south Wi-Fi and the Photographic camera Connect app on my smartphone (available for iOS and Android) to trigger the shutter helps prevent some of the camera shake that might occur if you manually press the shutter push button. (See below for more than info well-nigh shooting remotely.)
How exercise I shoot remotely?
Canon's Camera Connect app is a great way to have pictures without having to lay your easily on the camera. It's peculiarly useful for shooting at tedious shutter speeds, when fifty-fifty pressing the push button might cause the photographic camera to motility, or when you want to photograph something where your presence might be distracting, such as wild animals.
To prepare a connection, follow these steps:
one. Download the free Canon Camera Connect app to your smartphone or tablet. (It's bachelor for Android and iOS devices.)
2. On the T6, go to the 3rd tab of the Setup card. Make sure Wi-Fi is set to Enable.
three. Ringlet down to Wi-Fi part, and click Connect to Smartphone. Get out the nickname as EOS T6, or enter a different nickname. Click OK.
4. Choose Easy Connection, and click OK.
five. Get to the Wi-Fi settings on your smartphone, and click on the EOST6 network.
6. Enter the password (the encryption key number on the camera LCD), and click Join. The piddling Wi-Fi light on the back of the camera will glimmer while information technology's making the connection and will show a solid green light when y'all're adept to go.
Once the connection has been fabricated, showtime the Camera Connect app on your smartphone, and select the Catechism EOS Rebel T6 to connect. If yous get lost, follow the directions on the camera LCD and the Easy Connection Guide in the Canon Photographic camera Connect app.
Tap on the Remote Live View shooting icon. This will enable Alive View on the photographic camera. The scene in front of the lens volition announced on your smartphone.
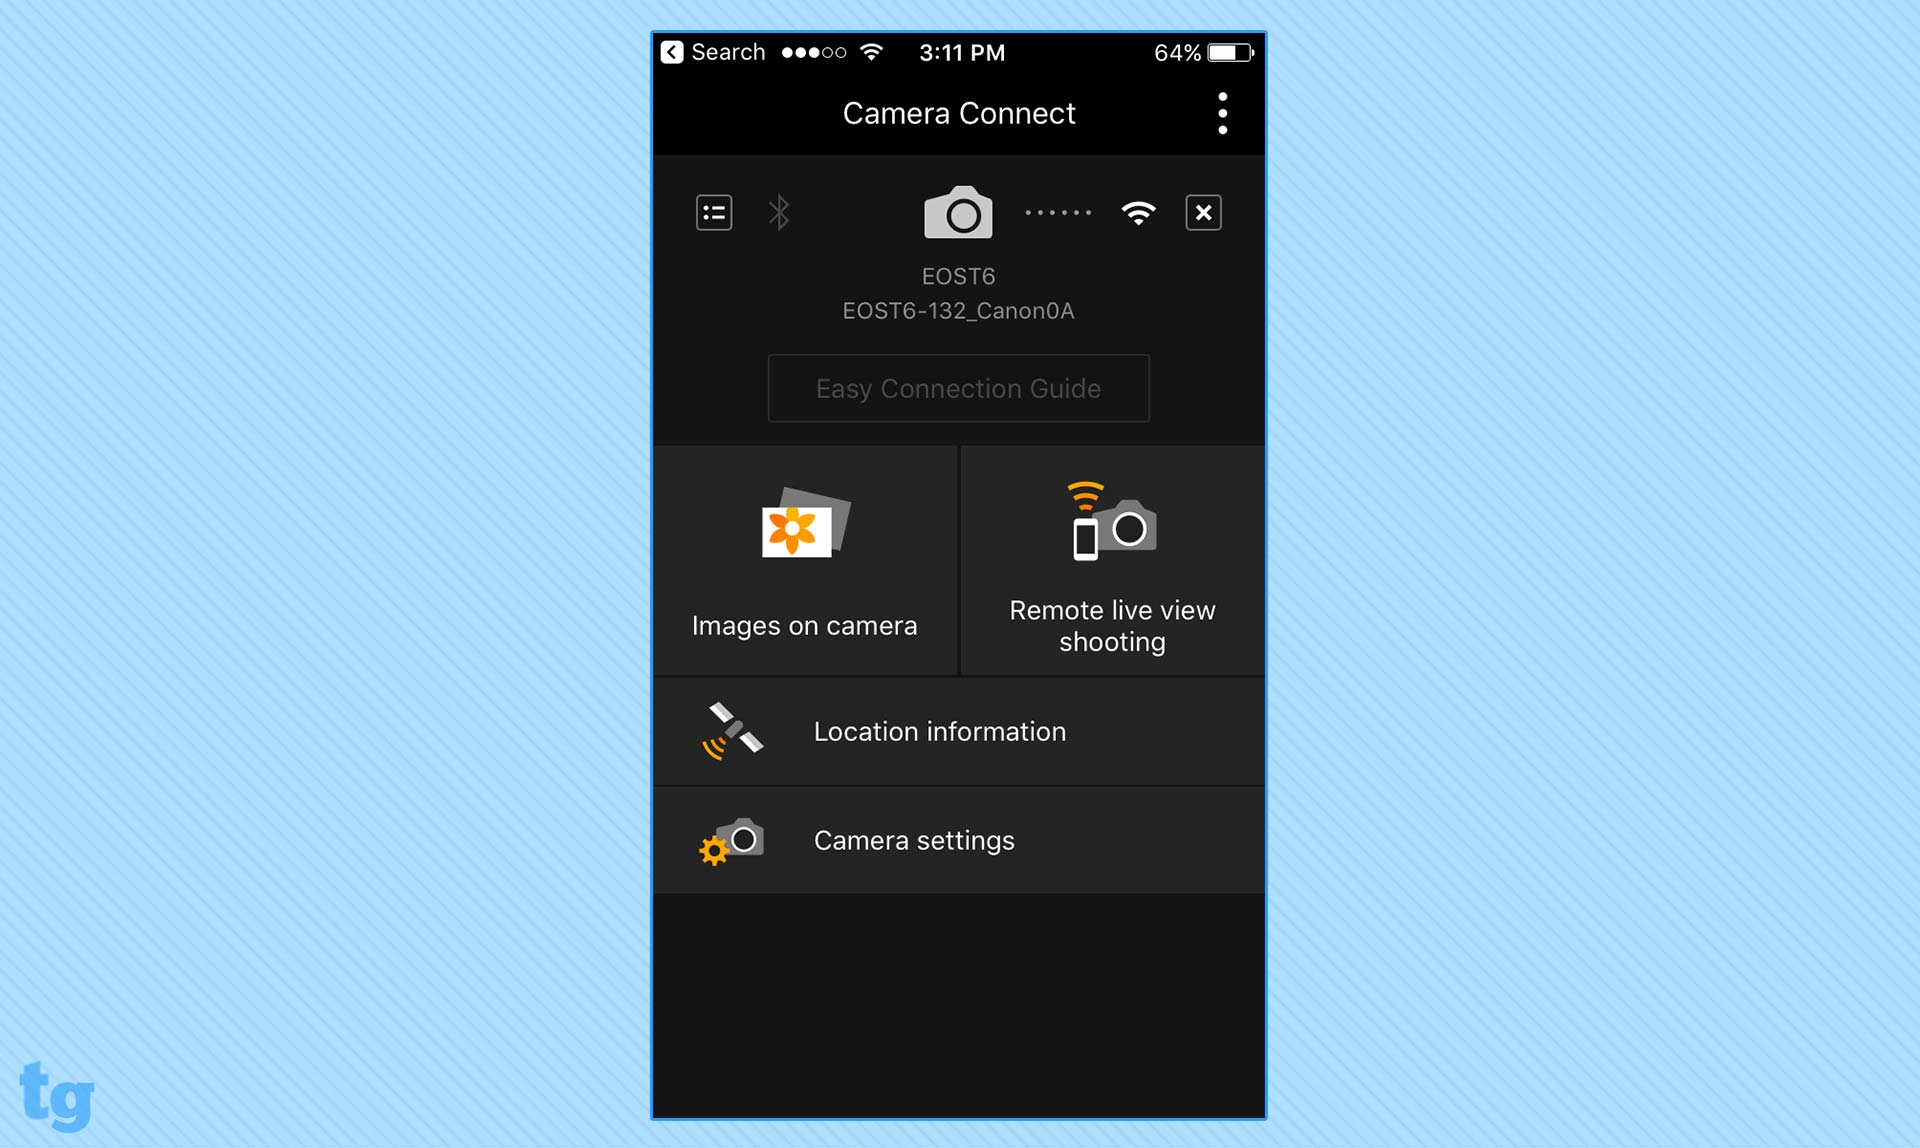
You can change a few settings depending on your chosen exposure mode. These include f/stop or shutter speed, as well as exposure compensation, white balance, autofocus and bulldoze mode. Just tap the round button on your smartphone screen to capture the image, and you're all set! Note that if you change the exposure mode on the photographic camera, yous'll accept to reconnect all once more.
- All-time DSLR cameras
- How many megapixels do you really demand?
- All-time cameras
Credit: Canon

Source: https://www.tomsguide.com/us/canon-t6-user-guide,review-4590.html
Posted by: storeyemehe1989.blogspot.com
0 Response to "How to Use the Canon Rebel T6 - Tips, Tricks and Manual Settings"
Post a Comment